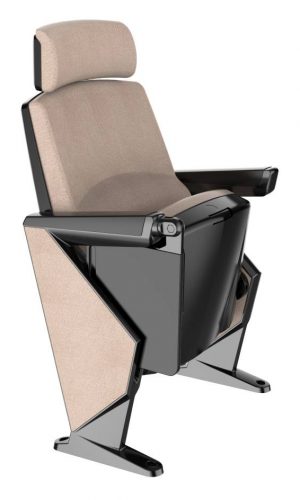
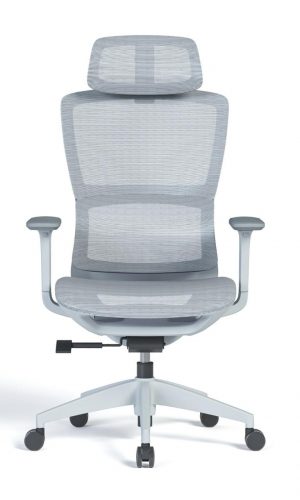
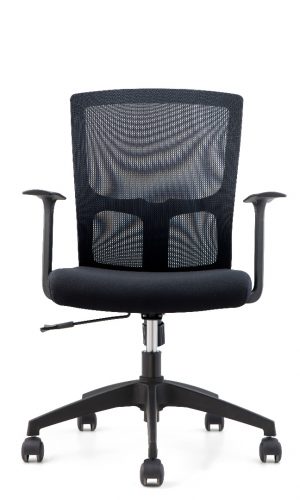
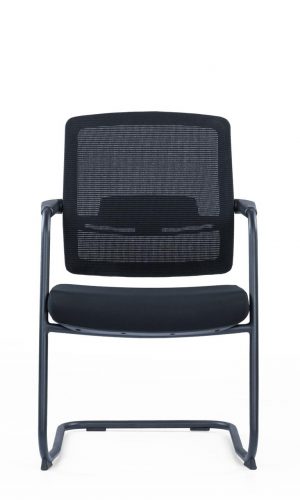

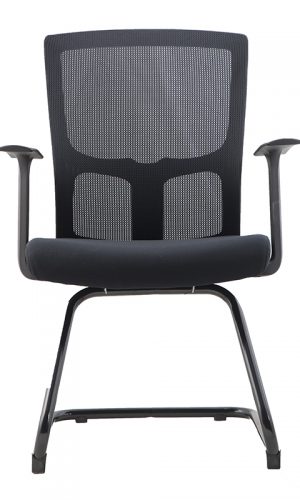


In general, assembling and disassembling an office chair is a simple task that anyone can complete in a short time. Most parts are assembled, except for the clockwork and arms.

Remember that almost all the instructions are mentioned on the website or on paper within the chair box. But sometimes, you face it challenging. In this post, I will explain how to assemble and disassemble an office chair from my experience.
Assembly and disassembly of an office chair may be challenging for some people, but it is not. It appears challenging, but you’ll never perceive it as complex again after you’ve done it on your own. Let’s assemble and disassemble an office chair together. I’ll also review topics to think about, troubleshoot, and make adjustments.
Here are a few steps to assemble an office chair from the start.
Here are a few steps to disassemble an office chair. Let’s get started.
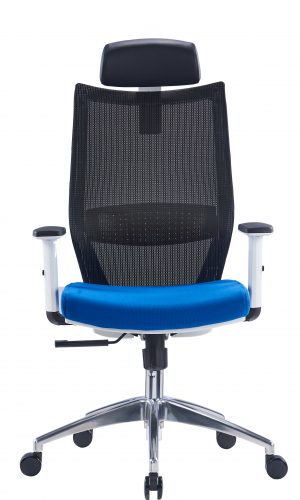
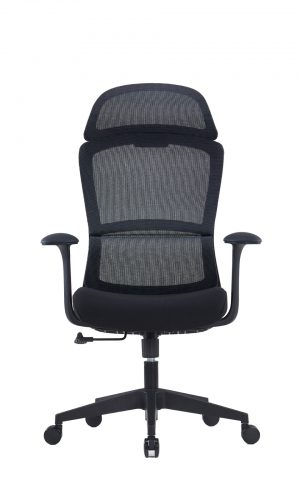
Most headrests have a few bolts that secure them to the chair. Before disassembling your headrest, you must decide whether it has a cover plate or a tab that needs to be removed.

Reattach the chair back cover plate or tabs after removing the headrest bolts with a screwdriver or Allen wrench. Don’t forget to collect all the little, loose parts in a bag for later storage.
Most office chairs feature removable backrests that are reasonably simple because they are attached to the chair’s back. Some office chairs may have these components permanently connected to the frame, making removal impossible. You can remove the bolts under office chairs with removable backs, an Allen wrench, or a screwdriver.

Now disassemble the armrests of the seats. They are made up of multiple distinct portions, so it’s important to remember how to remove them from the chair in the appropriate sequence. Before removing the washers or plates from the armrest, use the screwdriver first to remove the bolts securing it to the chair.

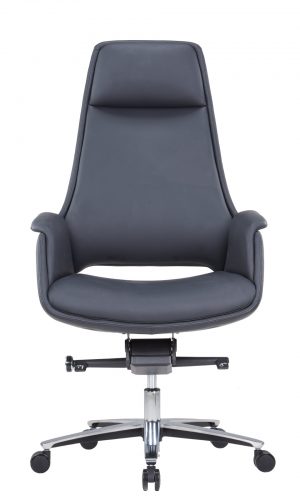
Use extreme caution because damaging the chair’s cylinder is relatively easy. Using a large pipe wrench, adjust the cylinder until it is flush with the mechanism’s base.
Turn the wrench to release the bolt once it has been tightened. Since cylinders typically do not have screws holding them in place, losing the cylinders is the first step in removing them from a mechanism.

To release the cylinder from the base, invert it so the bottom faces up and use a rubber mallet to tap it out of the bottom. If the cylinder has problems detaching from the base, tap the edges of the container to hasten the process.

Almost all casters have bases that are easy to press into place. However, unless you want a replacement or a refund, you shouldn’t be required to remove them from their box.

Before removing the wheels, flip the base over so the casters are on the back and facing up. Pulling them up will remove them from their positions.
Before you begin assembling or disassembling your office chair, it’s important to remember how it was delivered to your location. Because different kinds of office chairs are made up of various components and sections, the designer’s goal with this chair was to make sure that it was simple and easy to take apart in the same way that it was assembled. When taking the chair apart, keep the following things in mind:
Take into account the possibility that you could one day need to put your office chair back together. I recommend that you disassemble your chair as little as possible to reduce your chance of damage. Every system component must remain in its proper location at all times. The chair has a few components that should never be removed because doing so could damage it and render it worthless.
You need to decide whether or not the device’s elements need to be removed. If the three headrests, backrests, and armrests were each secured with a screw, then you must remove all of them.
For example, removing the cylinder from the mechanism could be more difficult than removing some other components, such as those attached to it without screws. Strain is the only thing keeping the cylinder in place, making removal challenging if you’re not careful.
Because of any troubleshooting, you must adjust your chair accordingly. For example, adjusting your chair to your height, making it easier to manage and operate your chair while sitting, modifying the form of your backrest, etc.
A: The desk or table where you spend most of your time should be facing the chair. You can make it by adjusting the height and back support simpler.
Find the lever, button, or bolt that adjusts the chair’s height. Usually, they’re under the seat. Two levers or bolts, Back support, and height adjustment is included. Test each model to see which button modifies back support and which changes height.
Push the pneumatic lever in front of your chair when standing up or down. Use your other hand to raise the seat. The seat ought to move gradually. The seat of a non-pneumatic office chair can be raised or lowered by releasing a bolt. You can fix it by retightening the bolt.
Sit down when the chair seems appropriate. Your knees should be flat on the floor, just below your waist, and slightly bent. Repeat step 3 as necessary to get a comfortable office chair position. When you release the pneumatic lever, some chairs lock. Others might possess a lock.
A: Here are some of the ways to make your office chair more comfortable:
A: Here are some more tips for chair assembling and disassembly. You may need to oil its parts and seek ways to disassemble an office chair. Greasing metal parts regularly prevents rust. To avoid creaking, secure all rivets.
Unless you make some small changes to improve your comfort, you may need to relocate to a new office, and moving a large, heavy chair could be challenging. There are variables to consider when disassembling an office chair, as well as advice and methods. You need to be organized while doing disassembly.
Knowing your chair’s parts beforehand will assist. Before disassembling the chair, picture it now. Reassembling some office armchairs can be difficult if you don’t see how they were built.
Online guides can assist you in disassembling an office chair. Seal the small parts in a container; you shouldn’t lose essential parts. Start removing replacement pieces to save time. Consider why you need to disassemble your chairs for office organizing or transfer.